
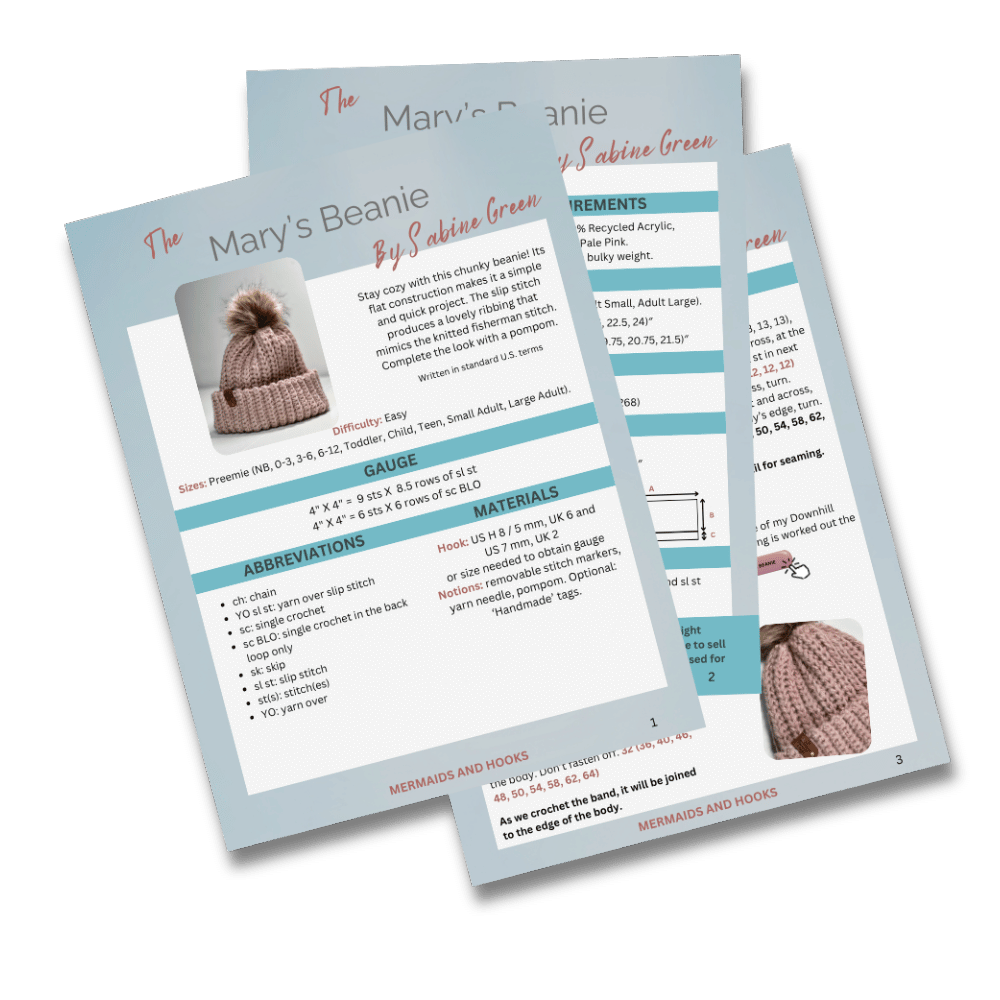
Learning how to read a crochet pattern can feel a little confusing at first. Between abbreviations, parentheses, brackets, repeats, and stitch counts, sometimes it feels like you’re learning an entirely new language!
The good news is that once you understand how crochet patterns are written, everything starts to make a lot more sense. You’ll begin recognizing the same abbreviations and instructions from one project to the next.
In this guide, I’ll break down how to read a crochet pattern for beginners, explain common crochet abbreviations and repeats, and share a few tips that can make following your next pattern much easier.
How to Read a Crochet Pattern for Beginners
Before jumping into the actual instructions, take a few minutes to look through the entire pattern.
I know it can be tempting to grab your hook and yarn and get started right away—I’ve done it too! However, reading through the pattern first gives you a much better idea of how the project is constructed and what to expect along the way.
Pay attention to the yarn and hook size, gauge, finished measurements, abbreviations, special stitches, notes, and construction information.
You don’t need to memorize everything. The goal is simply to familiarize yourself with the pattern before you begin.

Start With the Materials
The materials section tells you what you’ll need to complete the project.
Most crochet patterns will include:
- Yarn weight and recommended yarn
- Crochet hook size
- Approximate yardage
- Stitch markers
- Yarn needle
- Scissors
- Any additional notions, such as buttons, zippers, handles, or pom poms
When choosing your yarn, remember that yarns within the same weight category can still behave very differently.
Fiber content, thickness, texture, and drape can all change the finished project.
If you need a little help picking your yarn, I’ve shared my favorite tips in How to Choose the Right Yarn for Crochet Garments

Don’t Skip the Gauge
If you’re making a garment or another project where finished size matters, always check the gauge section before starting.
Gauge tells you how many stitches and rows should fit within a specific measurement.
If your stitches are larger or smaller than the designer’s, your finished project can end up a completely different size—even when you follow the instructions perfectly.
And yes, making a gauge swatch takes a little extra time, but it can save you from having to frog an entire sweater later!
For more help, check out my How to Check Gauge for a Crochet Sweater guide, where I walk you through the process.

Understanding Common Crochet Abbreviations
Crochet patterns use abbreviations to keep the instructions shorter and easier to follow.
You’ll see many of the same abbreviations again and again.
Some common US crochet abbreviations include:
ch – chain
sc – single crochet
hdc – half double crochet
dc – double crochet
tr – treble crochet
sl st – slip stitch
st/sts – stitch/stitches
sp – space
sk – skip
rep – repeat
rnd – round
RS – right side
WS – wrong side
Always check the abbreviation section of the specific pattern you’re using. Designers may use additional abbreviations for special stitches.

US vs. UK Crochet Terms
This is one detail you definitely want to check before starting a crochet pattern.
US and UK crochet terminology use some of the same stitch names, but they refer to different stitches.
For example, a US single crochet is called a double crochet in UK terminology. A US double crochet is called a treble crochet in UK terminology.
That can completely change your project!
Look for a note stating whether the pattern uses US or UK crochet terminology before beginning.
All Mermaids & Hooks patterns are written using US crochet terminology.

Read the Pattern Notes
Don’t skip the Notes section!
This is where the designer can tell you important information that doesn’t necessarily fit into the row-by-row instructions.
For example, the notes might explain whether:
- Turning chains count as stitches
- Rounds are joined or worked continuously
- Stitch markers need to be moved
- Length can be customized
- A special stitch is used
- Pieces are worked separately and joined later
These little details can make a huge difference when following the pattern.

How to Read Crochet Pattern Repeats
Repeats are one of the biggest things that can make a crochet pattern look intimidating.
However, once you understand the symbols, they’re actually pretty simple.
You may see instructions written with:
Asterisks *
Parentheses ( )
Brackets [ ]
An asterisk usually marks a section of instructions that needs to be repeated.
For example:
*sc in next st, dc in next st; rep from * across.
You would work one single crochet, followed by one double crochet, and continue repeating those instructions across the row.
Parentheses and brackets are usually used to group stitches or instructions together.
For example:
(2 dc, ch 1, 2 dc) in next sp
Everything inside the parentheses is worked into the same designated space.
Always check the pattern notes because designers may explain exactly how repeats and symbols are used within that particular pattern.

Pay Attention to Stitch Counts
If a pattern gives you a stitch count at the end of a row or round, use it!
Stitch counts are one of the easiest ways to catch a mistake before it turns into a much bigger problem.
Stitch counts are usually shown at the end of a row or round, often inside parentheses. For example, (24 sts) means you should have 24 stitches once that row or round is complete.
I like to place a stitch marker on my first stitch, especially when working in continuous rounds. It’s totally optional, but it’s a habit of mine and makes it much easier to keep track of where the round begins.
If your stitch count is off, check the previous row before continuing. It’s usually much easier to fix one row than discover the mistake ten rows later.

Learn What “Repeat From” Means
You may see instructions such as:
Rep Row 2
Rep Rows 2–5
Rep from *
Rep between [ ]
These simply tell you which section of the pattern to work again.
For example:
Rep Rows 2–5 three more times
means you’ll work Rows 2, 3, 4, and 5 again as one complete repeat. Then you’ll repeat that sequence the number of times indicated.
Reading one instruction at a time instead of trying to understand the entire row at once can make complicated-looking patterns much easier to follow.
Understand Right Side and Wrong Side
Some crochet patterns identify rows as RS (right side) and WS (wrong side).
The right side is generally the side of the fabric intended to face outward when the project is finished.
This becomes especially important when you’re making garments, joining granny squares, adding edging, or seaming pieces together.
I like to add a stitch marker to the right side of my work so I always know which side is facing me. It’s a simple little trick that makes it much easier to keep track as your project grows.
If the pattern tells you to work with the RS facing you, make sure your work is positioned correctly before continuing.

Take Crochet Patterns One Step at a Time
One of the best things you can do when learning how to read a crochet pattern is to stop trying to understand the entire project at once.
Focus on the instruction you’re working on right now.
Complete that step, check your stitch count if one is provided, and then move on to the next instruction.
As you follow more patterns, abbreviations like sc, dc, rep, and sl st will start feeling completely natural.
And if you make a mistake along the way, don’t worry—it happens to all of us! I’ve also put together 10 Common Crochet Mistakes and How to Fix Them with helpful tips for avoiding some of the most common frustrations.
Video Tutorials Can Help Too
If you’re more of a visual learner, video tutorials can make written crochet patterns much easier to understand.
Watching how a stitch is worked, where the hook is inserted, or how pieces are joined can help the written instructions suddenly click.
That’s why I include step-by-step video tutorials with my Mermaids & Hooks patterns whenever possible. You can read through the pattern and follow along visually as you crochet.
Check out my Video Library Here!

Practice With a Beginner-Friendly Crochet Pattern
The best way to learn how to read a crochet pattern for beginners is simply to start using one.
Choose a project with straightforward construction and familiar stitches. Read through the entire pattern first, check your materials and gauge, and then work through the instructions one step at a time.
Before long, reading a crochet pattern will start to feel just as natural as picking up your hook and yarn.

More Crochet Tips & Tutorials
If you found this guide helpful, explore more of my Learn to Crochet tutorials for tips that can make your next project easier and more enjoyable.
Whether you’re learning about gauge, choosing yarn, fixing common crochet mistakes, or working through your first written pattern, these guides are here to help you build your crochet skills one project at a time.