
How to Make a Perfect Pom Pom with a Pom Pom Maker — Easy, Fun & Kid-Friendly!
Pom poms are such a joyful way to add personality to your crochet projects, hats, scarves, or even home décor. And the best part? Making them is super easy—especially when you use a pom pom maker. Whether you’re crafting with kids, adding a finishing touch to a handmade gift, or just want a quick creative break, this step-by-step guide will help you make fluffy, round pom poms every time.
✂️ What You’ll Need
A pom pom maker – any size you like –
Yarn – Lion Brand Landscape Renewed –
- Sharp scissors – make sure that they are sharp or it will be difficult to cut the yarn
Optional: a yarn needle or extra yarn for tying

Video Tutorial
Step 1: Open Up Your Pom Pom Maker
A pom pom maker usually comes in two semi-circular arms that fold out.
Gently open both sides so they look like two rainbow-shaped arcs. These are what you’ll wrap the yarn around.
Friendly Tip: Make sure both arms are fully opened before you start wrapping—this will make your pom pom fuller and easier to trim later.

Step 2: Start Wrapping the Yarn
Take your yarn and begin wrapping it around one of the opened arcs. Keep wrapping until it’s nice and thick. The more you wrap, the fluffier your pom pom will be!
Once the first side is covered, gently close that arm and repeat the wrapping on the second side.
Kid-Friendly Tip: Encourage kids to count their wraps—e.g., “Let’s do 60 wraps on each side!” It’s a fun way to keep track and get both sides even.

✂️ Step 3: Close and Cut
After both sides are wrapped and closed, grab your scissors. You’ll notice a groove running along the middle of the pom pom maker. Carefully slide your scissors into that groove and cut all the way around.
Safety Tip for Kids: This part should be done by an adult or with close supervision. Sharp scissors make this step easier and safer because they cut cleanly through all the yarn.


Step 4: Tie It All Together
Cut a separate piece of yarn (about 12 inches long). Slide it into the groove you just cut through, pull it tight, and tie a secure double knot. This is what holds your pom pom together—so don’t be shy about pulling firmly!
Pro Tip: For extra security, flip it over and tie another knot on the opposite side.

Step 5: Open the Maker & Reveal!
Gently open both arms of the pom pom maker outward again. Then, pull the two halves apart to reveal your brand-new fluffy pom pom!
It should look like a little yarn ball with soft loops all around—almost like magic ✨

✂️ Step 6: Trim & Fluff
Hold your pom pom by the tied center string and give it a haircut! Trim any uneven strands to shape it into a neat, round ball. Roll it gently between your palms to fluff it up.
Fun Idea: Try mixing two yarn colors when wrapping to create a two-tone or speckled pom pom!
Extra Tips for Success
Use sturdy yarn for best results. Flimsy yarn can shed easily.
Make multiples at once—pom pom making is addictive!
Keep the center tie long if you plan to attach it to hats, bags, or blankets.
Why This Tutorial is Kid-Friendly
Wrapping yarn around the arms is easy and relaxing for little hands.
Kids love seeing the “poof moment” when the pom pom is revealed.
It’s a great rainy-day activity that teaches patience, counting, and fine motor skills.
✨ In a Nutshell
Making pom poms with a pom pom maker is quick, simple, and brings a burst of handmade charm to any project. Once you make one, you’ll want to make a dozen more!
So grab your yarn, pop open that pom pom maker, and get crafting ????
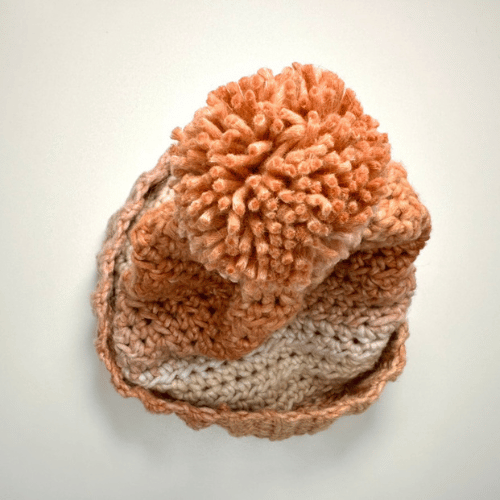
Check out the Wrenley Crochet Beanie and the Bulky Crochet Beanie for some inspiration!